Part 3 of 4…or 5?
This part is about how corporate or censorship networks use deep packet inspection (DPI) to detect and block VPN traffic and how to hide the fact you are using a VPN.
Next part will be more practical with use cases, devices, and specific configuration to circumvent censorship.
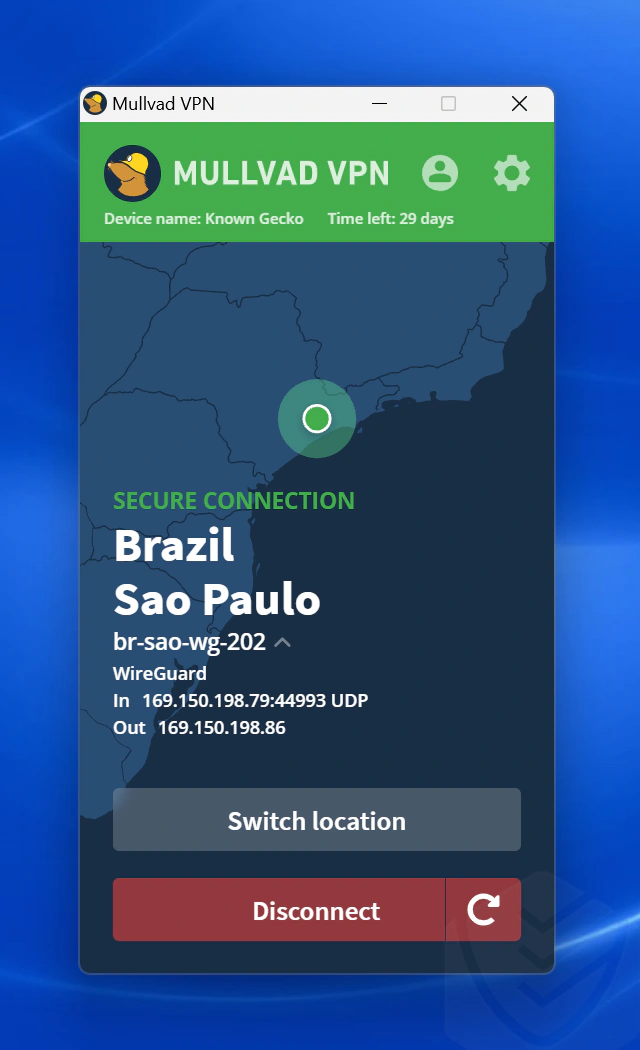
Configuration and examples here are from Mullvad VPN (WireGuard) with Fedora Linux. In the future, I will add examples using Debian-related distros.
DNS Leaks
You installed Mullvad and the VPN is running, everything seems good. Or not?
Even if you have your VPN up and running, a DNS leak can silently undo the privacy you think you have.
A DNS leak happens when your device’s DNS queries bypass the VPN tunnel and are sent to your ISP or other 3rd-party DNS servers, potentially exposing the websites you visit. Your traffic is encrypted, your IP is hidden, but your DNS queries are still mapping your entire browsing session to your ISP’s logs.
When you visit a website, your device first resolves the domain name into an IP address. That resolution is a DNS query, and it needs to go somewhere. A properly configured VPN tunnels those queries through the encrypted interface and resolves them on the VPN provider’s DNS servers. Your ISP should never see which domains you’re hitting.
Why DNS Leaks Happen
Culprit 1: systemd-resolved
On Linux, the culprit is usually systemd-resolved not being configured correctly for the VPN interface.
systemd-resolved is a system service built into most modern Linux distros that acts as a centralized DNS resolver for the whole OS. Rather than each application making its own DNS queries directly, they all go through systemd-resolved.
When the Mullvad app connects, it registers its DNS server (10.64.0.1) and the ~. routing domain with systemd-resolved (essentially telling it: “for all domain lookups, use this interface”). If that registration doesn’t happen correctly, systemd-resolved falls back to whatever DNS it got from DHCP, which is typically your router, which is typically your ISP.
Check it:
resolvectl status

# Under the wg0-mullvad interface, you want to see:
# Current DNS Server: 10.64.0.1
# DNS Domain: ~.
If you see ~. under the VPN interface, all DNS queries are routed there. If you don’t, you have a leak.
Even with no leak, you still control which DNS resolver handles your queries inside the tunnel. Mullvad defaults to its own resolver (10.64.0.1), but you may have it set to a custom one like Cloudflare. Both are routed through the VPN, so your ISP sees nothing either way, the only difference is which 3rd-party resolves your domains. Cloudflare is faster and globally distributed, but it’s a US-based commercial company. Mullvad’s resolver is no-logging, Sweden-based, and already inside your trust boundary since your traffic goes through them anyway. You can switch and verify with:
# Check your current config
mullvad dns get

# Switch to Mullvad's resolver
mullvad dns set default

# Use the Cloudflare DNS resolver
mullvad dns set custom 1.1.1.1 1.0.0.1

# Verify what resolver Mullvad sees (empty = custom DNS)
curl https://am.i.mullvad.net/dns

# Full connection check: IP, DNS, VPN status
curl https://am.i.mullvad.net/json
Culprit 2: Browser Configuration
The second common culprit is your browser. Both Chrome and Firefox support DoH (DNS-over-HTTPS), which lets the browser handle DNS resolution entirely on its own, bypassing the system resolver.
Chrome’s Secure DNS runs in automatic mode by default: it tries to upgrade your system-configured DNS provider to DoH if that provider is on its known list (Google, Cloudflare, NextDNS, etc.). If your OS is already pointed at Google DNS, Chrome will resolve via 8.8.8.8 over DoH (outside the VPN tunnel). Firefox defaults to Cloudflare DoH. Either way, neither goes through your VPN by default.
To prevent leaks, disable DoH in your browser entirely, or point it to your VPN provider’s DoH endpoint. Mullvad runs dns.mullvad.net, which is ad-blocking, no-logging, and available over DoH/DoT.
Test externally at dnsleaktest.com. If your ISP’s servers appear in the results, you have a leak, and you need to fix it.
The diagram below shows the 2 paths DNS queries can take:

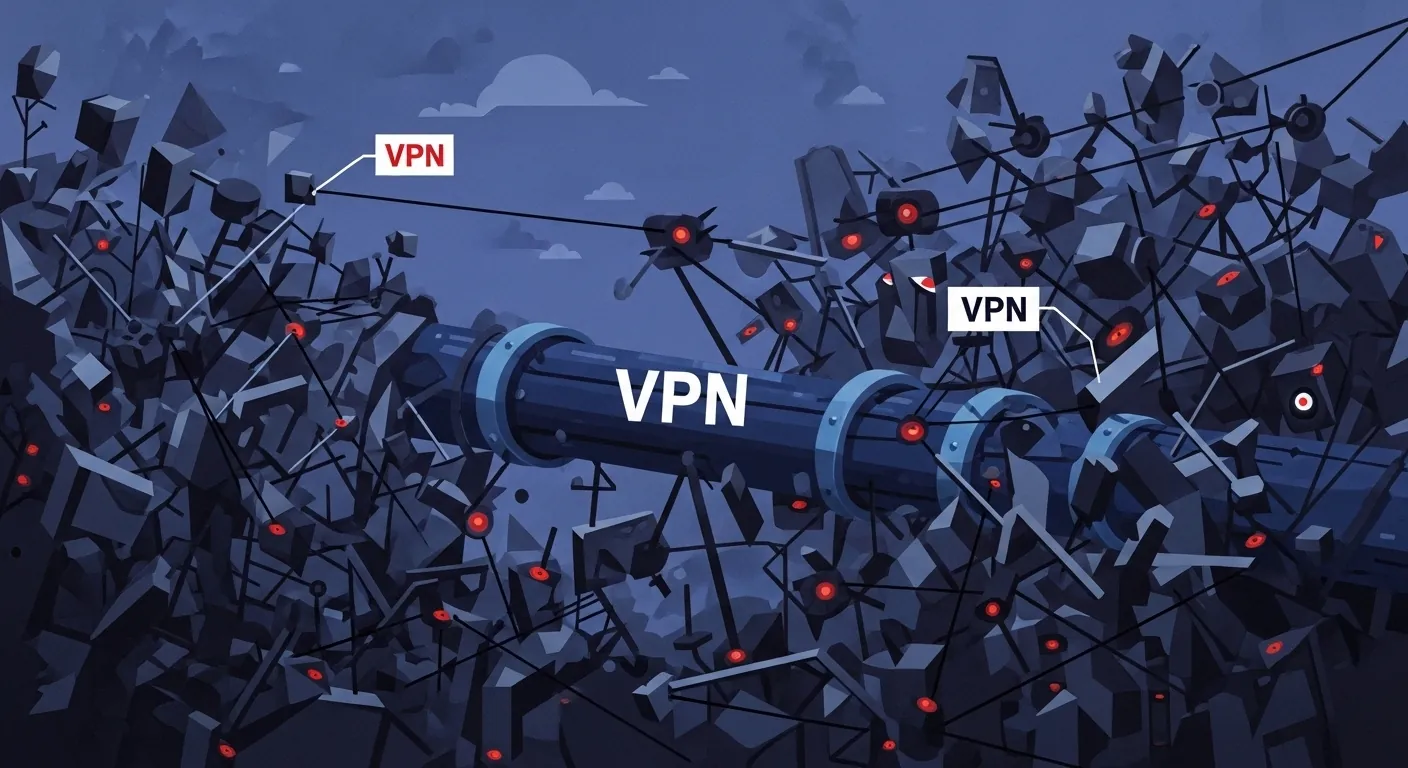
How Networks Know You’re Using a VPN
IT teams use Deep Packet Inspection (DPI) firewalls that inspect packets and analyze the content, structure, and timing of traffic to fingerprint protocols.
The problem here is that WireGuard has an easy to identify fingerprint. The WireGuard handshake initiation message is exactly 148 bytes and the response is 92 bytes. These are constants defined in the WireGuard spec. Beyond the handshake, WireGuard traffic has consistent patterns: it’s always UDP, keepalive intervals happen every 25 seconds by default, and the payload distribution has a particular structure. Any DPI system with a WireGuard rule can identify this fingerprint in an instant and flag it.
This matters in 3 scenarios:
- Corporate Networks With Next-Gen Firewalls: Palo Alto and similar DPI firewalls have WireGuard signatures in their rulesets. An IT team can easily block WireGuard (or any VPN protocol) with a single rule.
- Restrictive Countries: Countries with network restrictions rely on DPI systems to identify and block VPN traffic. Mullvad itself notes that WireGuard is blocked in China.
- ISP Throttling: Some ISPs throttle VPN traffic based on protocol identification without fully blocking it. For example, your VPN works but slows down past a certain data threshold.

Hiding the Fact You’re Using a VPN
Obfuscation is not built into WireGuard so you must add an obfuscation layer on top.
For example, Mullvad provides these obfuscation (anti-censorship) methods for bypassing DPI restrictions:
- Shadowsocks wraps WireGuard traffic inside an obfuscated proxy stream. The resulting traffic looks like random encrypted bytes with no identifiable protocol signature (no WireGuard handshake headers, no consistent port, no UDP-only behavior). To a DPI system, it’s indistinguishable from TLS or any other encrypted stream.
- udp2tcp wraps WireGuard UDP packets inside a TCP stream. Useful on networks that block UDP entirely. The tradeoff for this is performance as you lose UDP’s speed. Use it when you need it, not as a default.
- QUIC tunnels WireGuard inside QUIC frames (another obfuscation transport that’s harder to fingerprint than raw UDP and harder to block than TCP-based transports).
- LWO (Lightweight Obfuscation) is the lowest-overhead option with minimal packet transformation, no proxy layer. You can use this for environments where plain WireGuard gets blocked but full Shadowsocks feels like overkill.
- WireGuard port switching is the lightest of all. Some networks block the default WireGuard port (51820/UDP) but leave other UDP ports open.
wireguard-portlets you switch to a different port without any obfuscation overhead (useful when the problem is a simple port block rather than actual DPI). automode lets the app try methods in order of overhead until one connects. Useful if you don’t know exactly what the network is blocking and don’t want to guess manually.
# Check current anti-censorship status
mullvad status

# Full list of available modes: auto, off, wireguard-port, udp2tcp, shadowsocks, quic, lwo
mullvad anti-censorship set mode auto          # let the app figure it out
mullvad anti-censorship set mode shadowsocks   # best DPI evasion
mullvad anti-censorship set mode udp2tcp       # for networks blocking UDP
mullvad anti-censorship set mode quic          # WireGuard over QUIC/HTTP3
mullvad anti-censorship set mode lwo           # lightweight header scrambling
mullvad anti-censorship set mode off           # back to plain WireGuard

# Set the WireGuard port to a different one
mullvad anti-censorship set wireguard-port 4440

# Each method has its own subcommand for advanced per-method config
mullvad anti-censorship set shadowsocks --help
mullvad anti-censorship set udp2tcp --help
Mullvad also has a feature called DAITA (Defense Against AI-guided Traffic Analysis), which rather than bypassing DPI, it combats traffic analysis using machine learning. It adds random dummy data to the VPN traffic to prevent systems from recognizing VPN traffic from correlating packet timing, size, and patterns.
What this looks like using an shadowsocks obfuscation method in a censorship network:

What’s Next?
This is a good stopping point for the next part which will be more hands-on for different use cases. Planning to do some specific configurations and devices so it will take more time.
Previous Parts:
- Part 1: Understanding VPNs Part 1.
- Part 2: Understanding VPNs Part 2.